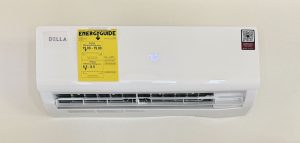
You have your beautiful new mini split indoor units hanging on the wall, your outdoor unit set in it’s perfect spot and everything connected and ready to go! Well, not quite. This is the most intimidating part of the process for those of us who are AC novices. But never fear, you got this!
If you missed part one (Installing the Indoor Unit) and part two (Installing the Outdoor Unit) of our Mini Split Install Guide, then make sure to go back and check them out first.

It’s time to break out your vacuum pump and your pressure gauges. You want to connect the center (yellow) line from your gauge to your vacuum pump.
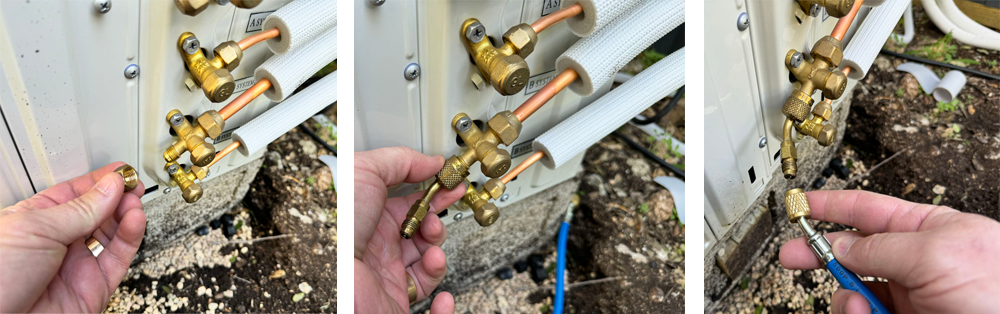
Using the Mini Split Adapter, connect the low pressure (blue) side of your gauge to the service port on the mini split. Using pliers to tighten should not be necessary, but you want to tighten as snug as you can with your hand. Please note that if you have a multi-room system, you will have to repeat the following steps for each room set.

This is where things can get a little intimidating, so I’ll break it down into steps so it’s real easy:
- FULLY CLOSE the high-pressure (red) side of your gauge.
- OPEN the low pressure (blue) side.
- Turn on your vacuum pump. You should see the low pressure gauge go from 0 to somewhere close to -30
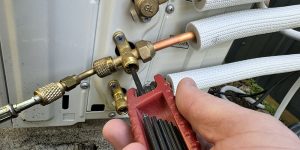
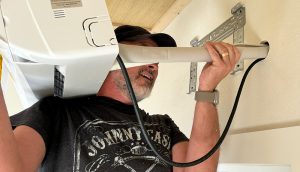
- With the pump running, use an Allen wrench to open the valve (see above photo)
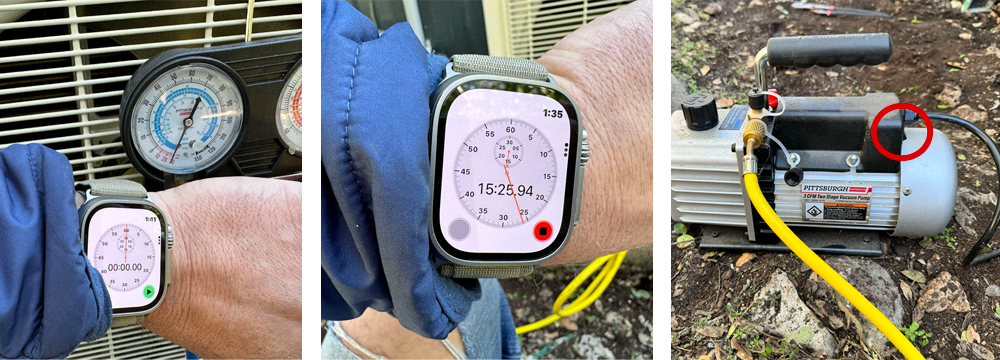
- Start a stopwatch if you have one – or make note of the time.
- After waiting for at least 15 minutes, you can turn off your vacuum pump.

- At this point, you want to wait. 5 minutes is a good amount of time. What we are doing here is making sure the vacuum is stable. After 5 minutes, your gauge should still be reading -30. If your pressure has not stayed at -30 and has climbed up to -20, -10 or 0 – then that means you have a leak in your connections. If that is the case, you will want to close the valve and re-do your connections.
- IF YOUR PRESSURE IS STABLE (gauge is still at or near -30), then your next step is to CLOSE THE VALVE with the Allen wrench.
- Disconnect the Mini Split Adapter and put the protective cap back on.

- Prepare some soapy water – heavy on the soapy – to further test your connections. Pour your soapy water onto each connection – on both the big and small copper lines. If you see any bubbles, you will need to re-connect those connections.
- Once you are satisfied that all your connections are good to go – you will open the valve on the small side with your Allen wrench.
WHEW! Believe it or not, you are DONE!! This sucker is ready to run.

Go ahead and put all your covers back on. And now it’s time to…

Turn your unit on and test it out. Remember that if you have a multi-room system and it is a heat pump (a unit that produces cold air AND heat), all of the rooms must be on the same mode at the same time (ie. either cold or heat). Otherwise, you will get an error code on the indoor unit.
Well, I really hope our step-by-step guide was helpful in equipping you with the knowledge you needed to install a mini split unit yourself. If you run into any issues or have anything to add to this guide, please drop me a line and let me know or feel free to comment on the post.
How to Install a Mini Split – Our Step-by-Step Guide
Mini Split Install – Vacuuming and Charging
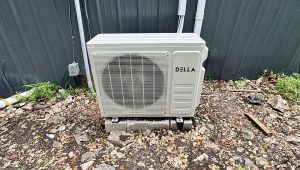
Mini Split – Outdoor Unit & Making the Connections
Mini Split – Installing the Indoor Unit